“`html
How to Install a Dimmer Switch: A DIY Guide
Dimmer switches are a fantastic way to tweak the lighting to suit your mood and save on energy costs at the same time. Whether you’re aiming for a softer ambiance or a brighter work environment, installing a dimmer switch offers versatility right at your fingertips. This comprehensive guide will take you through the step-by-step process of installing a dimmer switch in your home. With essential safety tips and detailed instructions, you’ll be equipped to handle this at times daunting, yet rewarding, DIY project with confidence.
Related To:
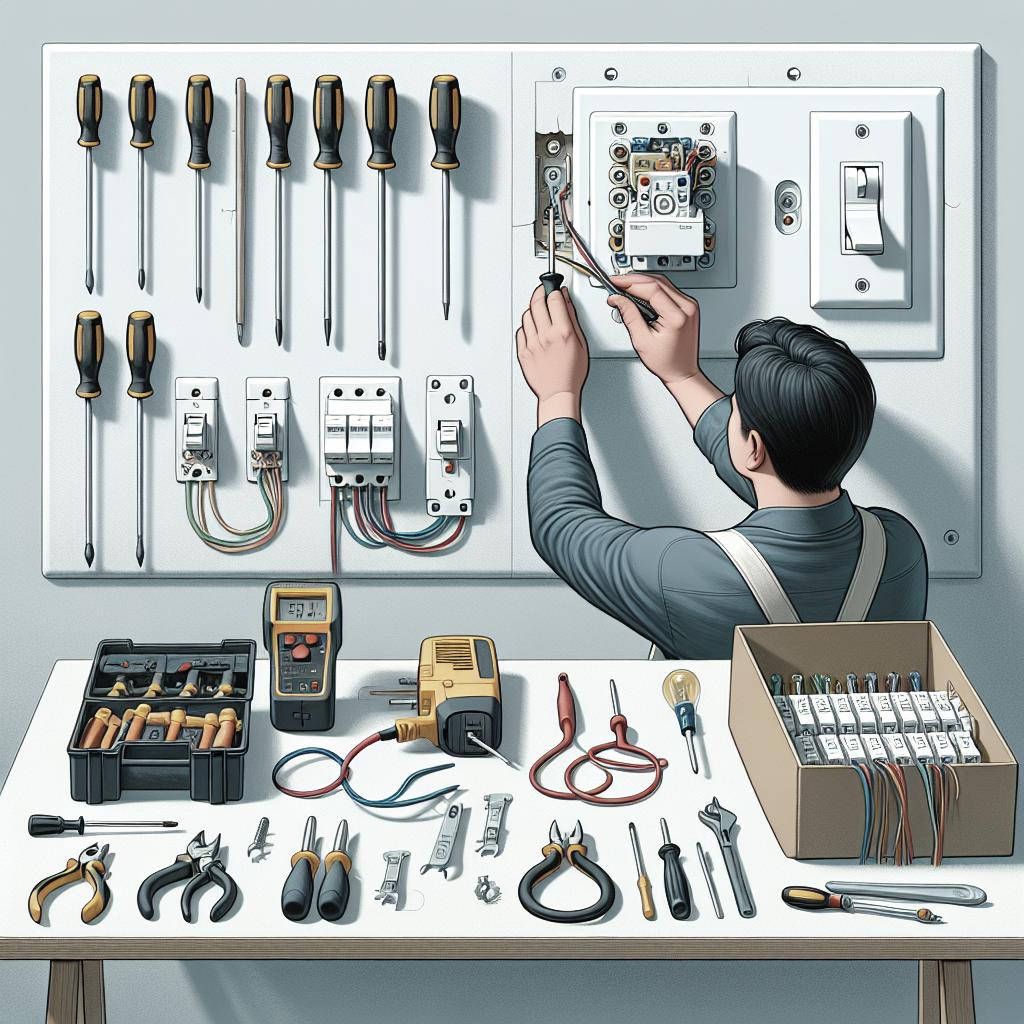
Before diving into the actual installation process, it is essential to gather all necessary tools and ensure you have a basic understanding of electrical work. This will involve selecting the proper dimmer switch for the light type you have (incandescent, LED, CFL, etc.) and the number of switches controlling the light (single-pole or three-way).
Dimmer switches are not universally compatible, so checking compatibility can save you from a lot of unnecessary frustration. Moreover, you might want to have some wire nuts, a screwdriver, and a voltage tester ready. For those less familiar with working on home electrical projects, consider consulting a manual or seeking advice from a professional to prevent any mishaps.
Turn Off the Power
Your safety is paramount when dealing with electrical installations. Begin by turning off the power to the circuit that you will be working on from your home’s breaker box. Identify the correct breaker for the switch you are replacing, flip it to the “off” position, and use tape to secure it there for the duration of your work, ensuring that no one inadvertently turns it back on.
Once the breaker is off, use a voltage tester to ensure that the power is indeed off at the switch before proceeding. This simple step is crucial as it prevents the risk of electric shock while removing the existing switch and working with the wires.
Remove Existing Switch and Plate
Start by unscrewing the switch plate covering your existing switch. Carefully remove it and keep the screws in a safe place as you will need them for later installation. Being mindful not to damage the wall, gently take off the switch plate to expose the switch itself.
Detach the Wall Plate
Once the wall plate is removed, you’ll see actual switch apparatus. Use the screwdriver to unscrew the switch from the electrical box. Be cautious while doing this and have another person hold the flashlight if visibility is poor.
Check for Existing Connections
Verify how the existing switch is wired. Take note or even a picture of the setup so you can easily replicate the connections with the new dimmer. Your new dimmer’s wiring should accommodate these connections, often involving a ground wire and other wire leads.
Remove the Wires From the Old Switch
After unscrewing the switch from the electrical box, carefully pull it out enough to expose the wiring. Remove the wires one by one. Usually, you’ll see a black wire (hot), a white wire (neutral), and a green or bare wire (ground).
Disconnect these wires from the old switch by loosening the terminal screws or removing wire nuts. Be cautious while handling any wiring, and ensure the wire ends are not frayed or damaged, as these are crucial for the successful installation of your dimmer switch.
Attach the Dimmer Switch
Once the old switch is removed, you can begin to attach the new dimmer switch. Start by reviewing the instruction manual that comes with your dimmer, as configurations might vary. If you’re retrofitting existing wires, align the new switch’s wire ends with those in your wall.
Connecting the Dimmer Wires
Take the black wire from the dimmer and connect it to the hot wire from the wall, typically the black wire. Use wire nuts to secure these connections by twisting them together. Align the other wires correspondingly, ensuring that each connection is tight and secure.
Secure the Ground Wire
Connect the ground wire from the dimmer switch (usually green or bare) to the ground wire in the electrical box. Again, use a wire nut to secure them together. The integrity of this connection is essential as the ground wire plays a vital role in electrical safety.
Attach the Dimmer Switch to the Box and Reinstall the Switch Plate
With the wires connected securely, gently fold them back into the electrical box. Push the dimmer switch into the box, ensuring it is placed symmetrically so the plate will fit correctly. Use the screws you set aside earlier to fasten the dimmer switch in place.
Level the Switch
When mounting the dimmer switch, use a level to ensure that it is perfectly aligned both horizontally and vertically. This not only looks aesthetically pleasing but also ensures that the dimmer toggle or knob operates smoothly.
Reattach the Switch Plate
Position the switch plate over the dimmer switch and screw it back into place. Tighten the screws just enough to hold the plate firm without damaging it or stressing the switch. Be careful not to overtighten, as that could crack the switch plate or disturb the dimmer alignment.
Finalize Attachments
Once the switch plate is reattached, double-check all connections and ensure no wires are exposed. Everything should be securely in place. With your installation completed, you’re almost ready to restore power to the circuit.
Test the Installation
Finally, return to your home’s breaker box and restore power to the circuit by flipping the breaker back to the “on” position. Go back to your new dimmer switch and test its functionality. Slide the lever or turn the knob to ensure it changes the lighting intensity as desired.
Next Steps
| Step | Action |
|---|---|
| Gather Tools and Check Compatibility | Make sure you have the correct dimmer and tools before starting. |
| Turn Off the Power | Ensure safety by shutting off circuit power from the breaker box. |
| Remove Existing Switch and Plate | Carefully detach the switch and take note of existing wire connections. |
| Remove the Wires From the Old Switch | Disconnect and safely prepare wires for the new dimmer switch. |
| Attach the Dimmer Switch | Align and secure the new dimmer’s wires to existing connections. |
| Attach the Dimmer Switch to the Box and Reinstall the Switch Plate | Fit the dimmer into the electrical box and finalize with the switch plate. |
“`