“`html
How to Create a Custom Picture Frame
Creating a custom picture frame is a rewarding DIY project that allows you to express your creativity while adding a personalized touch to your home decor. This comprehensive guide will walk you through the process of making a custom DIY picture frame, from determining the size and cutting materials to assembling and finishing your unique frame. Whether you have a special photo, artwork, or print, this step-by-step tutorial will help you showcase it beautifully and uniquely. Dive in to find out how you can enhance the aesthetics of your space with a handcrafted frame tailored to your style and needs.
For this Custom DIY Picture Frame, you will need:
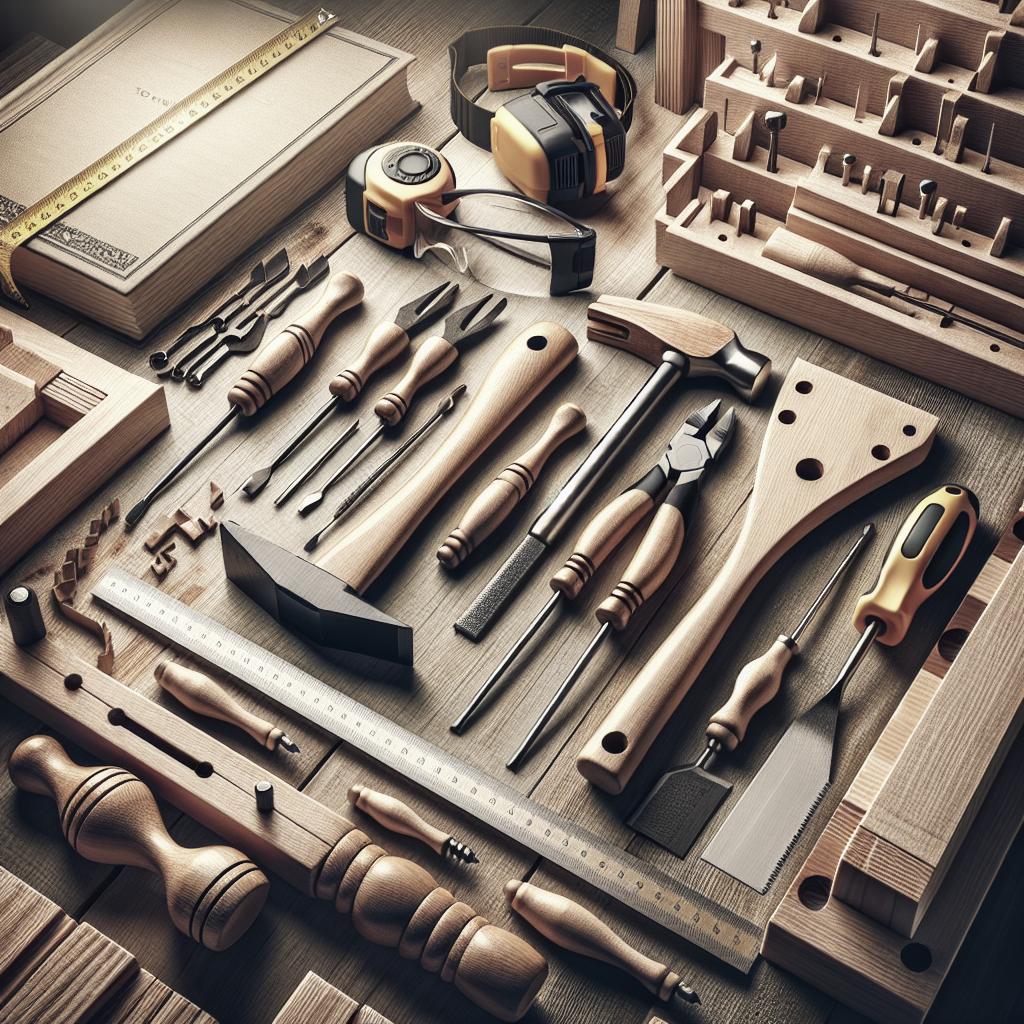
Before starting your custom picture frame project, gathering the necessary materials and tools is essential. For this project, you will need some wood pieces, which can be either pre-cut or cut to your specific dimensions. Additionally, you will need dowels, wood glue, finishing nails, a saw, a drill, sandpaper, and a router. If you plan to include glass, prepare the appropriate size or obtain a piece that can be cut to size.
In terms of tools, ensure you have a tape measure, a miter box or a power miter saw, and clamps to keep the pieces secure while working. A paint or stain of choice and a brush are also required if you opt to add some color or finish to your frame. Mat board and a utility knife will come in handy if you wish to use a mat around your picture.
Step 1: Determine the Size of Your Custom Picture Frame
The first step in creating a custom picture frame is determining the size of the frame that will best fit your picture or artwork. Begin by measuring the dimensions of the piece you plan to frame. Add an extra inch or two on each side to ensure it fits well and allows some overlap for securing the print.
Additionally, consider the width of the frame pieces you will use. Wider frames can make a bold statement, whereas narrower frames offer a more subtle look. Take these measurements into account when planning and purchasing your materials.
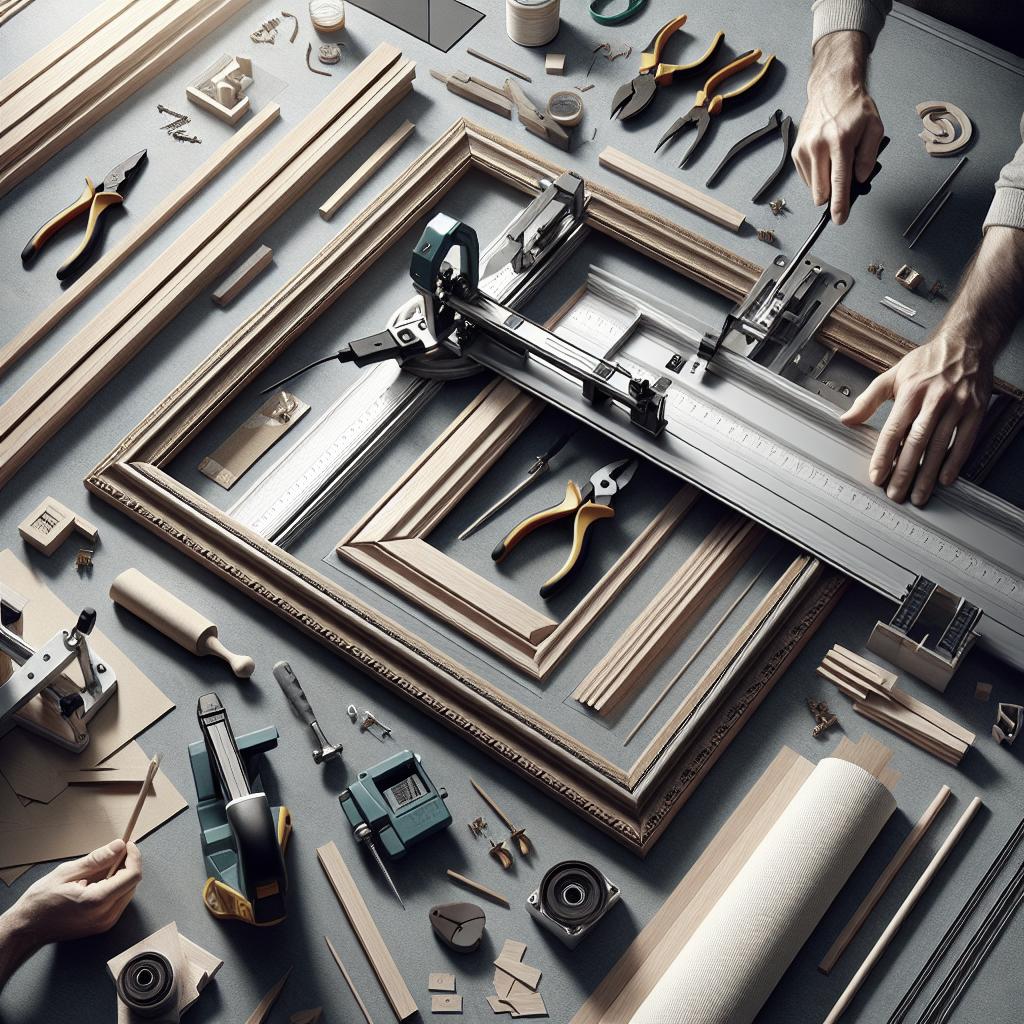
Step 2: Cut DIY Picture Frame Pieces
Once you have the correct dimensions, it’s time to cut the pieces for your frame. Use a saw or miter box to accurately cut the wood pieces to the desired length, ensuring each piece has a 45-degree angle at both ends for a perfect mitered corner.
Double-check your cuts to ensure precision since even slight inaccuracies can affect the frame’s final appearance and structural integrity. Properly sand the edges to remove any roughness, ensuring a smooth fit when assembling the frame.
Step 3: Drill Dowel Holes in Frame Corners
To increase the durability of your custom picture frame, drilling dowel holes at the frame’s corners is crucial. With a drill, carefully create holes on the inner side of each mitered angle, ensuring alignment for the dowels.
Using dowels will provide secure joints, making your frame more robust. This step requires accuracy, so take your time to ensure each hole is drilled perfectly vertically. Consider marking the drill spots with a pencil before starting the drilling process.
Step 4: Glue DIY Picture Frame Together
After drilling the dowel holes, it’s time to assemble the frame. Apply a wood glue to the mitered edges and insert the dowels into the holes to connect each corner. Apply pressure with clamps, holding the frame securely to let the glue set properly.
Make sure to wipe any excess glue that oozes out from the joints to maintain a clean finish. Allow the glue to dry for several hours, or according to the instructions provided with the glue, before proceeding to the next steps.
Step 5: Route Decorative Edge Along Frame (Optional)
For those interested in adding an artistic touch to their frame, routing a decorative edge is an optional yet enriching step. Using a router with a decorative bit, lightly pass along the outer edge of the frame.
This step can transform a simple frame into a beautiful focal point, especially when combined with a paint or finish. Customize the patterns to match your design preferences or mimic a classic frame style that appeals to your taste.
Step 6: Route Rabbet for Glass
Incorporating glass into your frame design requires routing a rabbet – a recessed channel along the inner edges of your frame. This space allows you to perfectly fit the glass and the artwork or picture within the frame.
Ensure the depth of the rabbet accommodates the glass and any mat board you plan to use. Use a router equipped for rabbet cuts and work slowly to avoid splintering or damaging the wood.
Step 7: Cut Mat Board
Mat board serves as an elegant border between your frame and the picture, enhancing its visual appeal. Measure and cut the mat board to sit comfortably within the rabbeted edge, adjusting it to either fully cover or partially frame the picture as preferred.
Use a sharp utility knife to make precise cuts, ensuring clean and straight lines. Customizing the mat board offers another layer of artistic expression, whether through color choices or additional cut-out designs.
Step 8: Install the Print and Finish
With all components ready – the frame, glass, mat board, and print – it’s time to assemble your picture frame. Carefully place the glass into the rabbeted niche, followed by the mat board, and lastly, the print. Secure these layers gently with backing material like cardboard, pinning them into place with finish nails or framers’ points.
To complete your project, seal the back with a dust cover and affix hanging hardware. This final step transforms your handiwork into a ready-to-hang masterpiece, showcasing your framed picture beautifully on any wall.
Related Posts
- Top Home DIY Projects for Beginners
- Creative Decor Ideas to Transform Small Spaces
- How to Choose the Right Art for Each Room
Next Steps
| Step | Description |
|---|---|
| Determine Size | Measure your picture and decide on frame dimensions. |
| Cut Pieces | Cut the wood to size and miter the corners. |
| Drill Holes | Drill holes for dowels to ensure stability. |
| Glue Together | Glue and clamp the pieces to form the frame. |
| Optional Decoration | Route decorative edges for added design. |
| Route Rabbet | Create a channel to fit the glass snugly. |
| Cut Mat Board | Prepare the mat board to fit within the frame. |
| Install Print | Assemble and secure the picture, mat board, and glass. |
“`