Transform Your Space: Create a Personalized DIY Chalkboard
In this blog post, we’ll guide you through the exciting process of transforming any surface in your home into a functional, stylish chalkboard. By leveraging simple materials and straightforward techniques, you can creatively enhance your walls, doors, or even furniture pieces with a personal touch. Whether you’re looking to organize your household better or simply want to add a unique feature to your space, this DIY chalkboard project is both practical and fun. Let’s gather our supplies and unleash our creativity!
DIY Project: How to Turn ANY Surface into a Chalkboard
Are you tired of the same old walls and looking for a fresh way to enliven your space? Creating a DIY chalkboard might just be the perfect solution for you! The beauty of this project lies in its versatility. Whether it’s a wall in the kitchen for jotting down recipes, a segment of your office for quick reminders, or a personal expression in your child’s bedroom, chalkboards can find their place anywhere with a bit of creativity.
The good news is that turning any surface into a chalkboard doesn’t require extensive DIY skills or expensive materials. With the right approach, you can turn ordinary objects into interactive canvases for self-expression and practicality. Let’s explore what you’ll need and how you can start this fun project that will undoubtedly add charm and utility to your home.
Here’s what you’ll need:
To embark on your DIY chalkboard journey, you will begin by assembling some basic supplies. Firstly, chalkboard paint is the star of this project. You can find it in many hardware stores, and it comes in a variety of colors beyond the traditional black or green, allowing for custom color matches to suit your decor. Next, you’ll need a paintbrush or roller for application, with rollers often being preferred for larger surfaces to achieve a smoother finish.
With paint and applicator in hand, the next crucial item is painter’s tape, which will help you define your chalkboard’s boundaries and protect surfaces that should remain paint-free. Lastly, don’t forget to invest in a quality primer, especially for surfaces that are already painted or have a slick finish. A primer will ensure that the chalkboard paint adheres properly and stands the test of time.
Extra! Extra! Electronic Snail Mail!
Making a DIY chalkboard doubles as a conversation starter and a delightful medium for staying creatively connected. Imagine a family message board where notes, drawings, and reminders can all cohabitate harmoniously. Forget chaotic paper notes and embrace a more organized way to communicate with family and housemates. This visual bulletin board can even contain schedule updates or grocery lists, keeping everyone informed at a glance.
In a digital age where emails can often be overlooked amidst the clutter, your DIY chalkboard serves as a delightful alternative to electronic communication. It’s physical, personal, and has a charming authenticity that electronic messages sometimes lack. Whether it’s a quick doodle or an important memo, your chalkboard will foster better interaction within your living space, blending artistry with practicality.
Here’s how:
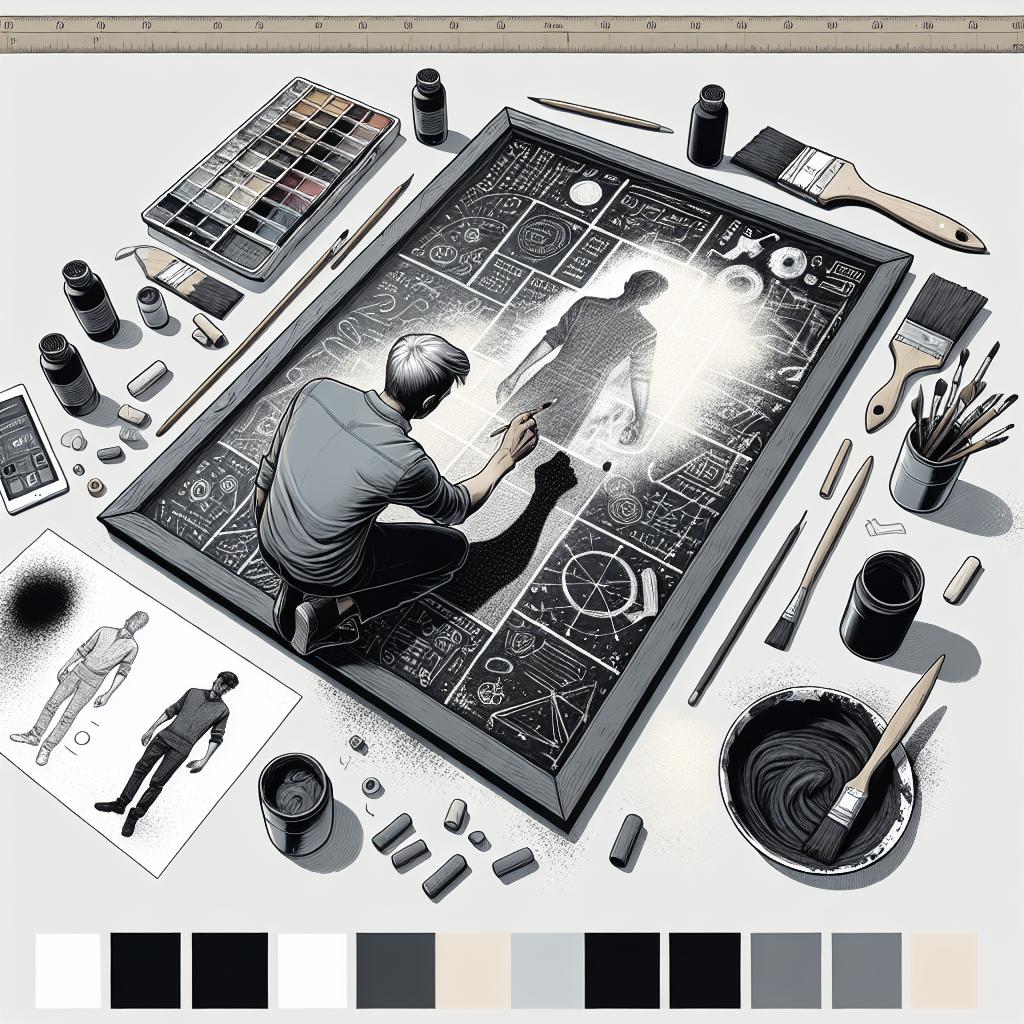
Once you’ve gathered all the necessary materials, it’s time to get down to the fun part: transforming your chosen surface into a chalkboard. First, clean the surface thoroughly to ensure any dust or dirt won’t interfere with paint adherence. If the surface is near food preparation areas, make sure to use a degreaser to remove any oil residue. Next, apply the primer evenly and let it dry completely as per the instructions. This step is crucial in preparing the base for your chalkboard paint.
After your primer is dry, it’s time to paint! Use painter’s tape to frame the area you’re painting, creating clean, sharp lines. Apply the chalkboard paint using a roller or brush, depending on your surface’s size and your preference. Typically, two to three coats of paint are recommended, allowing each coat to dry completely before applying the next. Once the paint is fully dried, “season” your new chalkboard by rubbing a piece of chalk over the surface, then wiping it clean to prepare it for future use.
Next Steps
| Step | Description | Materials Needed |
|---|---|---|
| Select Surface | Choose any clean surface that can be easily painted. Consider adding a chalkboard to unexpected places like fridge doors or table inserts for creativity and worth. | Surface, cleaning supplies |
| Gather Materials | Acquire chalkboard paint, primer, brushes or rollers, and painter’s tape. | Paint, primer, tape, brushes/rollers |
| Prepare Surface | Clean and prime the selected surface thoroughly. | Primer, cleaning supplies |
| Paint | Apply 2-3 coats of chalkboard paint, letting it dry between applications. | Chalkboard paint, paintbrush/roller |
| Season & Use | Rub chalk on the surface and wipe it clean to prepare it. Start using your new chalkboard! | Chalk |