“`html
How to Make a Rustic Coffee Table
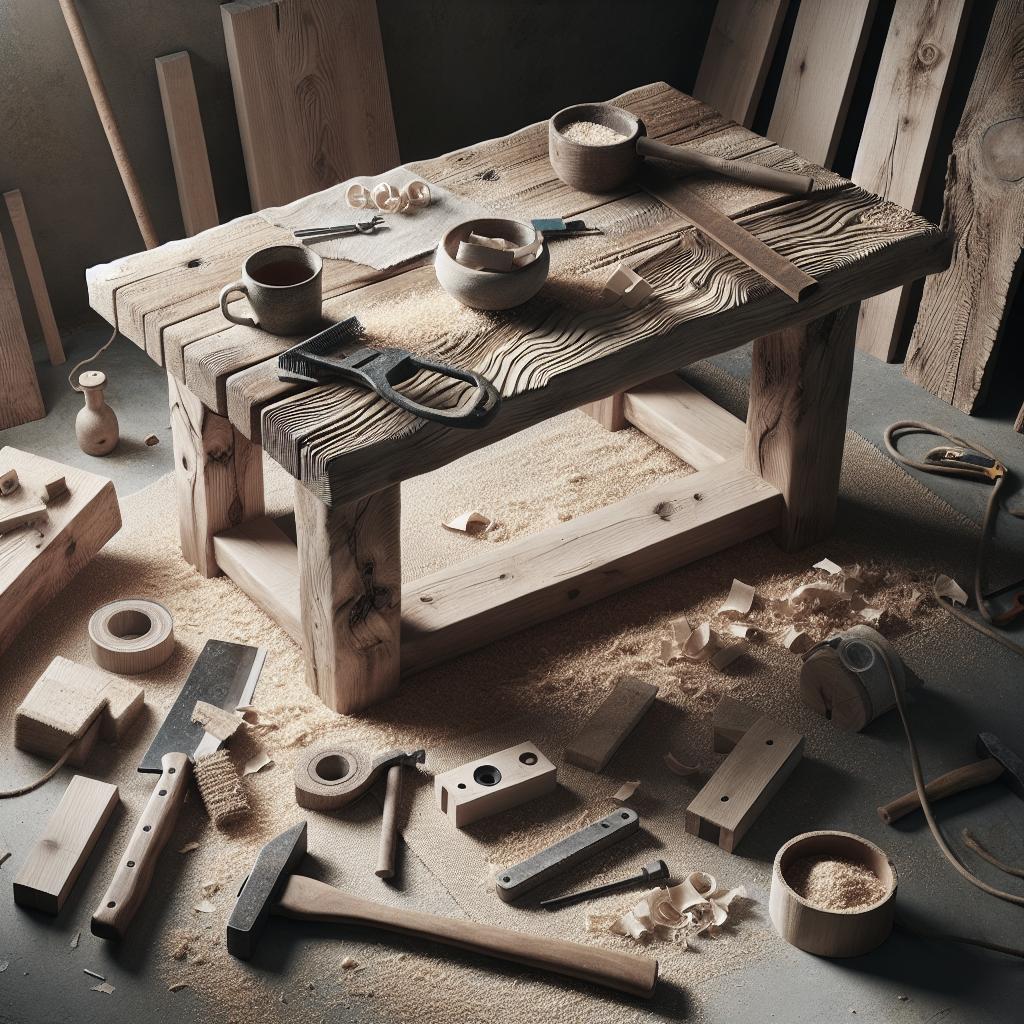
If you’re keen to blend functionality with charm in your living space, creating a rustic coffee table is an excellent project. This guide offers an in-depth, step-by-step process to craft a beautiful piece for your home. We’ll cover everything from preparation and gathering materials to the final wood finishing touches. Whether you’re a beginner or have some woodworking experience, these plans are tailored to guide you seamlessly through the process. Keep reading to discover the transformative journey of turning simple wood into a rustic masterpiece.
Preparation
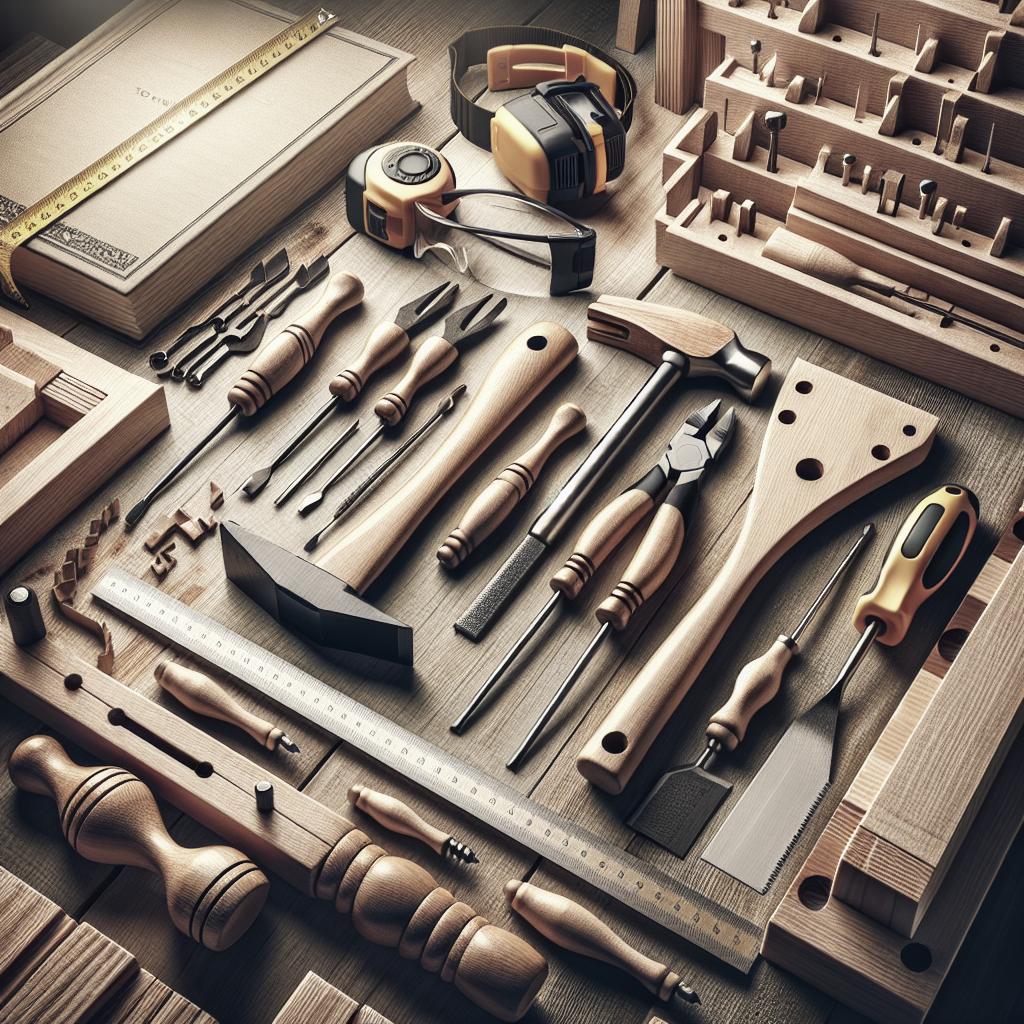
Before you begin your adventure in creating a rustic coffee table, preparation is crucial. Start by selecting the type of wood you want to use. Reclaimed wood is a popular choice for rustic projects due to its texture and history. Next, gather all necessary materials and tools. This typically includes a saw, drill, screws, sandpaper, and stain or finish of your choice. Having these items on hand will streamline the process.
Another key component of preparation is ensuring that you have sufficient workspace. A garage or dedicated workshop will work best. Make sure your area is clean and organized to prevent any mishaps during the building phase. Advanced preparation will save you time and reduce the stress of the project.
Supply list
Your supply list should include all materials needed for construction and any additional supplies for aesthetic touches. Standard items typically include 2×4’s, 2×2’s, a plywood or hardwood tabletop, pocket hole screws, and wood glue. For finishing, consider wood stain or paint and protective sealant.
Double-check your list against your plans to ensure no items are missed. Remember, having extra materials, such as screws or sandpaper, is beneficial as it prevents delays. If you’re uncertain about quantities, consult a local hardware store professional.
Instructions
Once your preparation is complete, it’s time to follow the step-by-step instructions to bring your project to life. These instructions will cover each stage in detail, ensuring clarity and assistance for even novice builders.
It’s suggested to read through all the steps first before starting any physical building. This overview will help you understand the sequence and potentially foresee any challenges that may arise during the process.
Step 1
Begin by cutting your wood to the desired dimensions. Use a miter saw for precise cuts, especially for angles. Your table will generally have four legs, a frame, and a tabletop. Label each piece to avoid confusion later.
Safety is paramount when using cutting tools. Wear safety goggles and keep your hands clear of the blade. A small mistake can result in personal injury or a wasted piece of wood, so take your time with each cut.
Step 2
With all the pieces cut, start assembling the frame. Connect the legs to the side supports using pocket hole screws for a strong connection. Align everything carefully, using clamps if necessary to hold pieces in place while you fix them together.
Maintain a square shape when assembling the frame to provide a strong, balanced foundation for your table. Double-check with a carpenter’s square before tightening all screws.
Step 3
Attach the tabletop by aligning it with the frame. Secure it with screws, ensuring they are evenly spaced. If your design includes a bottom shelf, attach it at this stage using the same method.
Keep in mind the grain direction of your wood when positioning the tabletop. Settle for a pattern that’s visually appealing if the wood has distinct grains.
Step 4
Once the basic structure is together, it’s time to sand the surface to remove any rough edges. Start with coarse sandpaper, then move to a finer grit for a smooth finish.
After sanding, clean the surface using a tack cloth to remove any dust particles. This step is vital for achieving a sleek finish during the staining or painting process.
Step 5
Finish your table by applying stain or paint. Consider your existing decor and choose a finish that complements it. Apply the stain with a clean cloth in the direction of the wood grain.
Allow the stain to dry completely, then apply a protective sealant. Sealing the wood extends the lifespan of the table by protecting it from spills and scratches.
Wood finishing
Wood finishing is the final touch that transforms a simple structure into a beautiful piece of furniture. Start with a wood stain to bring out the natural grain and choose between a glossy or matte finish based on your preference.
Once applied, allow sufficient drying time recommended by the manufacturer before placing any items on your new table. Proper finishing enhances both the appearance and durability of your table.
Beginner Friendly Option
If the detailed steps seem daunting, consider a simplified version perfect for beginners. Using pre-cut wood or modifying the design to include straight cuts can make the process easier.
Similarly, opting for a DIY kit available in many craft stores can provide ease with pre-measured components and step-by-step instructions tailor-made for beginners. This way, you can build confidence before tackling more complex projects.
Rustic X Coffee Table Plans
The “Rustic X” design is renowned for its classic appeal, using distinctive cross bracing to add both aesthetics and stability. Required tools include a saw for diagonal cuts and a drill for assembling the X-brace.
These plans offer a refreshing take on the standard rustic table design, adding sophistication while maintaining simplicity in construction. Using tutorials and online videos can help in visualizing the assembly process.
Breakfast Table Video
A helpful video tutorial can provide additional clarity. Watching someone else assemble a similar project, such as a breakfast table, might offer useful tips and tricks.
Visual learners will benefit from watching the construction process from start to finish in real-time, providing insight into detailing and problem-solving as they build along.
Comments
Feedback from fellow builders provides invaluable lessons learned from their experiences. Comments sections often contain multiple ideas and solutions to common problems faced during the project.
Reading these insights can enhance your final product, preparing you for challenge areas identified by others and providing innovative ideas to improve your project.
Related Posts
Exploring related posts can broaden your understanding and inspire new ideas for future projects. Many woodworking sites offer extensive archives filled with diverse furniture-build projects.
Draw inspiration from different designs and integrate them into your own, giving your furniture unique and personalized touches that fit your aesthetic vision.
Pin For Later!
If you found this guide helpful, consider pinning it for easy access later. Use a platform like Pinterest to keep all your DIY inspirations in one place. This not only saves time but also allows you to compile a collection of go-to resources.
Pinned projects can serve as reminders or be shared with fellow enthusiasts who might be interested in similar woodworking adventures.
Lessons Learned
| Step | Summary |
|---|---|
| Preparation | Ensure all materials and tools are ready; clear workspace and select the type of wood. |
| Supply List | Involves gathering wood, screws, stain, and other materials; opt for a comprehensive list to prevent disruptions. |
| Instructions and Steps | Guide through cutting wood, assembling frame, attaching tabletops, sanding, and finishing the piece. |
| Wood Finishing | Emphasizes staining and sealing wood to enhance durability and aesthetic. |
| Beginner Friendly and Rustic X Plans | Provide options for different skill levels and preferences with “Rustic X” design plans. |
| Tips | Incorporates video guides, and community comments for improved project completion. |
“`