“`html
How to Install a Ceiling Fan
Installing a ceiling fan can be a rewarding DIY project, offering both functional and aesthetic upgrades to your space. Whether you’re aiming to improve airflow in your room or add a stylish fixture to your home, understanding the steps to properly install a ceiling fan is crucial. This guide will walk you through the process, from selecting the right type of fan to the final testing and troubleshooting. We’ll cover the necessary tools and materials, as well as each step of the installation process, ensuring you’re well-equipped to undertake this project. Let’s get started on bringing comfort and elegance to your home with a newly installed ceiling fan.
Types of Ceiling Fans
Before embarking on the installation, it’s essential to choose the right type of ceiling fan for your space. Ceiling fans come in various styles and functionalities, such as standard, low-profile, energy-efficient, and dual-motor fans. Standard ceiling fans are the most common and are suitable for rooms with high ceilings, offering a range of styles and features, often including light kits. Low-profile fans, often referred to as hugger fans, are ideal for rooms where the ceiling height restricts the use of a standard fan due to safety or design reasons.
Energy-efficient ceiling fans are equipped with advanced motors and optimized designs to reduce power consumption while maximizing airflow, making them perfect for eco-conscious homeowners. Dual-motor fans are designed for larger areas, offering customizable airflow with multiple fan heads. Understanding these types will inform your choice based on your room size, ceiling height, and personal preferences, ensuring optimal performance and visual appeal.
Tools and Materials Needed to Install a Ceiling Fan
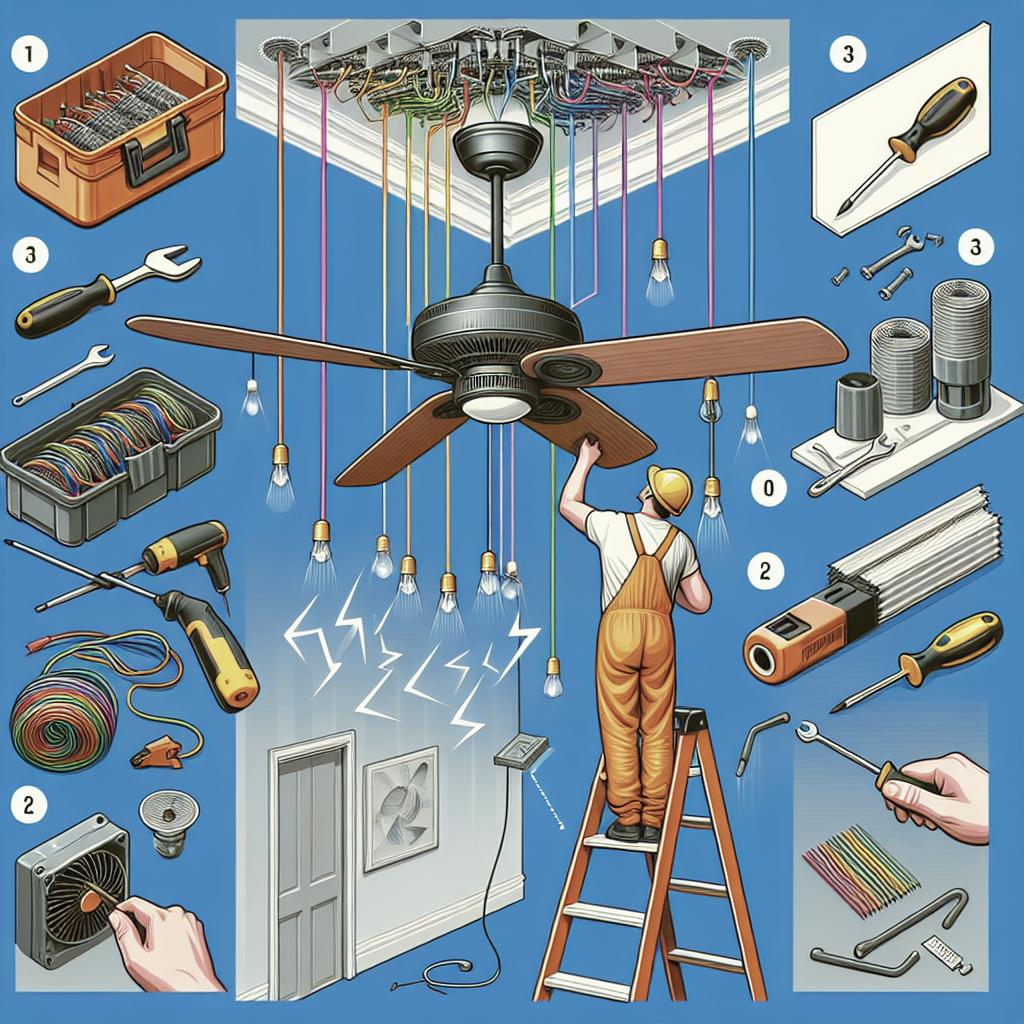
Installing a ceiling fan requires specific tools and materials to ensure the process is smooth and the installation secure. Gathering these items before starting your project will make the task more manageable and efficient. Essential tools include a screwdriver set, a drill, a voltage tester, wire cutters/strippers, and a ladder. Some installations may also require a socket wrench set, especially for securing the fan blades or mounting brackets.
Tools
Numerous tools are paramount to ease the installation process of a ceiling fan. A sturdy ladder of appropriate height is essential to safely reach the ceiling and perform the installation. Additionally, a variety of screwdrivers or a power drill with an array of drill bits can help manage different types of screws used in fan assembly and mounting. Ensure to have a voltage tester handy to confirm that the electrical circuit is completely off before handling wires.
Wire cutters/strippers are also necessary to trim or strip the ends of the wires when making the electrical connections. Keeping these tools readily available aids in maintaining a smooth workflow and ensures safety and precision during the installation procedure.
Preparing for Ceiling Fan Installation
Choosing the Right Location
Selecting the optimal location for your ceiling fan impacts its overall efficiency and effectiveness. Ideally, the fan should be centered in the room to provide the most balance and airflow. Additionally, consider the distance from walls and any other obstacles, ensuring that blades do not touch or come too close to these surfaces. It may also be necessary to check local building codes or regulations, which can specify where ceiling fans are permissible.
Turning Off Electricity
Safety first! Before beginning any electrical work, turn off the power to the circuit where you’ll be installing the fan. Locate the appropriate circuit breaker in your electrical panel and switch it off, then use a voltage tester to verify that no electricity is flowing to the existing fixture. This step is crucial in preventing electrical shocks or injuries during the removal of existing fixtures and the installation of new components.
Removing the Existing Fixture
Once the area is safely prepared, proceed to remove the existing ceiling light fixture or fan. Begin by taking down any lampshades or light covers to expose the fixture’s mounting. With the power off, safely disconnect any electrical wires, noting the connections, as they will guide the connection of the new fan.
Remove the mounting bracket by unscrewing it from the electrical box. Pay close attention to any loose elements, ensuring they don’t fall, which could damage flooring or injure yourself. With everything dismantled, you’re ready to prep the space for your new ceiling fan.
Inspecting the Electrical Box
The next critical step is inspecting the electrical box to ensure it can support the weight and motion of a ceiling fan. Confirm whether the existing box is fan-rated; these are reinforced and designed specifically to hold ceiling fans safely, typically indicated by a supportive bracing or a label. If your box is non-fan-rated, it will need replacing to avoid hazardous installations.
Failing to use a fan-rated electrical box might result in a loose fan that poses risks of falling or damage over time. Always err on the side of caution by updating to a new box if the current one is not explicitly designed for use with fans.
Installing a Fan-Rated Electrical Box
If a new electrical box is required, begin by removing the old, unsuited box. Fan-rated boxes are readily available at most hardware or home improvement stores. These boxes are typically metal, providing the necessary support and durability for fan installation. Attach the new box according to specifications, securing it either directly to a framing stud or ceiling joist for optimal strength.
Ensure the box is perfectly flush with the ceiling, providing a smooth, even mounting surface for the fan bracket. Any imbalance at this stage can lead to wobbling, requiring adjustments after the fan is mounted.
Assembling the Ceiling Fan
With the structural groundwork set, it’s time to assemble the ceiling fan itself. Most fans come with detailed assembly instructions from the manufacturer, which typically guide you through the process. Start by attaching the down rod if applicable, which serves as the connecting pole between the ceiling mount and the fan body.
Next, assemble the fan motor, ensuring all screws and fasteners are securely tightened to prevent any operational issues in the future. Leave the fan blades and light fixtures for later, as attaching them before mounting can make the fan cumbersome to manage.
Mounting the Ceiling Fan
Mounting the Fan
Secure the fan’s mounting bracket to the fan-rated electrical box. Tighten the screws sufficiently to ensure no movement or play when the fan is installed. Once the bracket is securely in place, it’s time to mount the fan motor. Follow any specific instructions from the manufacturer related to your fan model, as the process can vary slightly.
Lift the assembled motor into place and attach it to the bracket. Double-check all connections, giving a slight tug to ensure they are secure. This is also the moment to connect the wiring as per the color-coded instructions included in your kit, ensuring good contact with no exposed wiring.
Attaching Blades and Light Fixtures
With the motor secured, you can now move on to attach the fan blades. Attach each blade securely according to the provided instructions. This often involves screwing the blades into pre-drilled holes on the fan base. Once all blades are attached, check to ensure they are even and balanced, preventing unwanted noise and wobbling in use.
Adding Light Kits
If your fan includes a lighting kit, follow the instructions to attach it next. This usually involves connecting wiring similar to the fan motor’s wiring. Ensure connections are tight and any excess wire is contained neatly within the light fitter. Secure all components before testing the new light.
Testing and Troubleshooting Your Ceiling Fan
Once installation is complete, the test phase is crucial to identifying any issues before regular use. Restore power to the circuit and try each fan and light function, ensuring they operate without noise or other problems. A successful test includes proper functionality of both speed settings for the fan and any lighting components.
Addressing Common Ceiling Fan Installation Issues
Should you encounter issues, common problems can often be traced to imbalanced blades or loose connections. Check and tighten blade screws and other fixtures to resolve wobbling. Electrical issues may require revisiting wire connections to ensure they match corresponding outlets correctly.
Next Up In Ceilings
With your new fan installed, consider other ceiling improvements that might enhance your room’s aesthetics and functionality. Ceiling renovation projects like painting, installing crown molding, or adding recessed lighting can all contribute to creating a modern, elegant space. Remember, whatever update you choose, safety and proper preparation are the keys to successful improvement projects.
| Step | Action |
|---|---|
| 1. Types of Ceiling Fans | Select the appropriate fan based on style and functionality needs. |
| 2. Tools and Materials | Gather necessary tools like screwdrivers, drill, ladder, and voltage tester. |
| 3. Prepare for Installation | Check the installation location and turn off electricity for safety. |
| 4. Removing Existing Fixture | Detach any pre-existing lights or fans to prepare for the new installation. |
| 5. Electrical Box Check | Verify the box can support a ceiling fan; replace if necessary. |
| 6. Install Fan-Rated Box | Securely attach a fan-rated box to the ceiling. |
| 7. Assemble Fan | Put together the fan components as per instructions provided. |
| 8. Mount Ceiling Fan | Secure the fan to the ceiling bracket and connect wiring. |
| 9. Attach Blades/Lighting | Final assembly of fan blades and optional light kits. |
| 10. Testing | Turn back on the power, test the fan and resolve any issues. |
| 11. Next In Ceilings | Consider other ceiling upgrades to complement the new fan. |
“`