“`html
How to Install a New Showerhead
Upgrading your bathroom with a new showerhead is a straightforward task that can enhance your showering experience and help you conserve water. Whether you’re switching to an eco-friendly showerhead or looking for a more luxurious option with multiple spray settings, this guide will walk you through the process using simple tools and readily available materials. By following these steps, you’ll become your own handyman, ensuring a leak-free and optimal shower experience. Let’s dive into the process and start transforming your bathroom in just a few easy steps.
Before you Begin
Before you dive into replacing your showerhead, it’s crucial to evaluate your current shower setup. Determine if the existing plumbing and fittings are compatible with your new showerhead. Understanding any limitations or special requirements will save you time and potential confusion later. Consider the style and features of the showerhead you want, ensuring it matches both your needs and your bathroom’s aesthetic.
Additionally, check if your new showerhead requires specific water pressure to function efficiently. Read through the instructions that come with your new showerhead to familiarize yourself with the installation process. Having a clear picture in mind will make the process smooth and efficient, preventing any unnecessary trips to the hardware store.
What You’ll Need
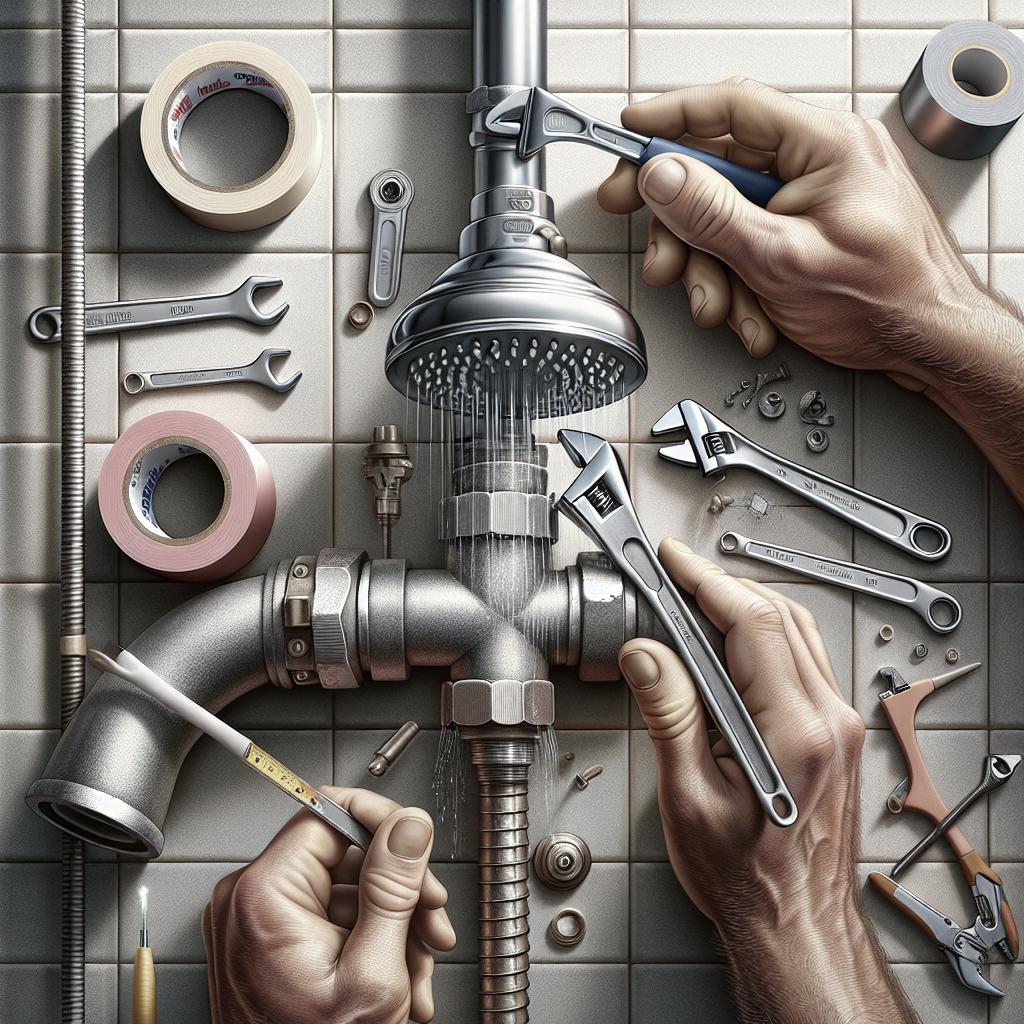
Equipment / Tools
To replace your showerhead, you will need some basic tools that are often found in most homes. A wrench or pliers is essential for loosening or tightening components. If your showerhead replacement involves different attachments, you might also need a screwdriver to ensure a proper fit. Keep a cloth or towel handy to protect the fixture’s finish from being scratched during the process.
Another valuable tool is an adjustable wrench, which can be more convenient than fixed-size tools, providing a better grip for unscrewing the older showerhead without causing damage. Additionally, a step stool might be beneficial if your showerhead is positioned high up, providing better access and a safer standing platform.
Materials
Aside from tools, you’ll need a few materials to ensure a successful installation. Teflon thread-sealing tape (also known as plumber’s tape) is a must; it helps create a watertight seal between the shower arm and the new showerhead, preventing leaks. Some showerheads might come with their own sealing tape, but it’s always good to have extra.
You may also need lubricant, specifically a plumbing-safe option, if your existing showerhead is tough to remove. While optional, having some cleaning supplies like a damp cloth or brush can be helpful for cleaning away any lime scale deposits or grime from the shower arm threads before fitting the new head.
How to Replace a Shower Head
Turn off the Faucet
The first step in replacing your showerhead is to ensure the water is turned off. This doesn’t mean shutting off the main water supply; simply make sure the shower faucet is in the off position to prevent any unexpected sprays. It’s also a good idea to let any residual water drain out of the showerhead before starting the process.
If your shower doesn’t seem to shut off completely, check the bathroom’s isolation valve, if available. This measure will help you avoid getting dripped on while working and prevent water wastage.
Unscrew the Existing Shower Head
Using a wrench or pliers, carefully unscrew the old showerhead from the shower arm. If the showerhead is very tight, apply a few drops of lubricant around the threading to help loosen it. Make sure to use a cloth to protect the shower arm from scratches.
Once loosened, you should be able to unscrew it the rest of the way by hand. Keep your tools ready in case you encounter resistance during removal, and always ensure a firm grip to prevent accidents.
Remove Excess Dirt
After removing the old showerhead, inspect the threads of the shower arm for any debris or old thread-sealing tape. Use a damp cloth or small brush to clean off any dirt, lime scale, or leftover tape remnants.
Ensuring that the threads are clean is crucial for a snug fit with the new showerhead. Proper cleanliness will aid in creating a strong seal, preventing future leaks and maintaining water pressure efficiency.
Apply the Thread-Sealing Tape
Wrap the plumber’s tape around the threads of the shower arm in a clockwise direction. Typically, wrapping the tape two to three revolutions is sufficient to create an airtight seal.
Make sure the tape covers the entire threading without any overlaps or bunching up, as this could impact the fit of the new showerhead. The tape serves as a barrier to prevent water leakage and enhance grip.
Watch Now: How to Use Plumber’s Tape
For a visual guide on using plumber’s tape correctly, consider looking up short instructional videos online. These resources can provide practical demonstrations, ensuring your tape application technique is spot on.
Watching experts demonstrate the task can give you confidence and ensure there are no mistakes in preparing the shower arm threading, contributing to a seamless installation.
Attach the Replacement Shower Head
Place the new showerhead onto the shower arm by hand and turn it clockwise to secure. Initially, finger-tighten the showerhead to align it properly before using tools for the final tightening.
If it has an adjustable arm or multiple parts, make sure each component lines up correctly. Once satisfied with the placement, use a wrench to give it a final turn, ensuring it’s snug but not overly tight.
How to Install a Fixed Shower Head
For a fixed shower head, the installation is straightforward since there are no additional components. After applying the tape, simply screw the showerhead onto the elbow of the extension arm.
Test the alignment to make sure the spray is directed correctly. Make any adjustments before applying the final tightness, making sure the connection is leak-free.
How to Install a Hand-Held Shower Head
Hand-held showerheads come with an additional hose and mount. After attaching the hose to the showerhead, secure the other end to the shower arm following the same tape and tighten protocol.
Ensure the mount is placed on a suitable section of the wall, employing adhesive pads or mounts provided. Adjust the hose so it hangs freely and doesn’t kink, and test the handheld capability for reach and convenience.
How to Install a Combination Shower Head
A combination shower head includes both a fixed head and a removable hand-held unit. Install as you would the fixed head, but also attach the hand-held component using the additional connecting hose.
Coordinate the two elements to achieve your preferred setup. It might require some testing to ensure all the diverters work smoothly for seamless transition between the fixed and hand-held capabilities.
Check the Fit and Look for Leaks
Turn on the shower faucet and inspect for any leaks around the showerhead and shower arm joint. If you detect any drips or sprays, turn off the water and make necessary adjustments.
Take time to adjust angles and ensure the fit is secure. Sometimes a modest tightening or repositioning of the plumber’s tape is all it takes to eliminate leaks.
Fix or Make Adjustments
If the showerhead isn’t performing as expected, make small adjustments. This might include realigning how the head sits or rewrapping the sealing tape for better coverage.
Ensure each adjustment is met with a test run to verify the showerhead’s performance and leak-free status. Taking the time now ensures optimal functionality and longevity of your new showerhead.
Instructions
Follow the manufacturer’s guidelines specific to your new showerhead to avoid any missteps. Most reputable brands provide helpful installation manuals or a link to tutorial videos.
Reading these instructions guarantees that all elements are handled appropriately, from precise threading requirements to any specific configurations particular to the brand.
When to Call a Professional
Although most showerhead replacements are straightforward, there are instances when it’s best to call a professional. If, during removal or installation, you encounter rusty or stubborn fittings, professional help can prevent damage.
Don’t hesitate to reach out if the new showerhead fails to function correctly after multiple adjustments. Pros possess the wisdom to detect potential issues with the water flow or pressure not immediately evident in a DIY approach.
Lessons Learned
| Section | Highlights |
|---|---|
| Before You Begin | Assess compatibility, review installation guides, confirm water pressure needs. |
| What You’ll Need | Gather tools (wrench/pliers, optional screwdriver) and materials (plumber’s tape, cleaning supplies). |
| How to Replace a Shower Head | Sequential guide from turning off water to attaching the new head and checking for leaks. |
| Instructions | Follow manufacturer instructions, paying attention to unique installation tips. |
| When to Call a Professional | Seek help for stubborn or rusted fittings or continuous operational issues after DIY fails. |
“`